
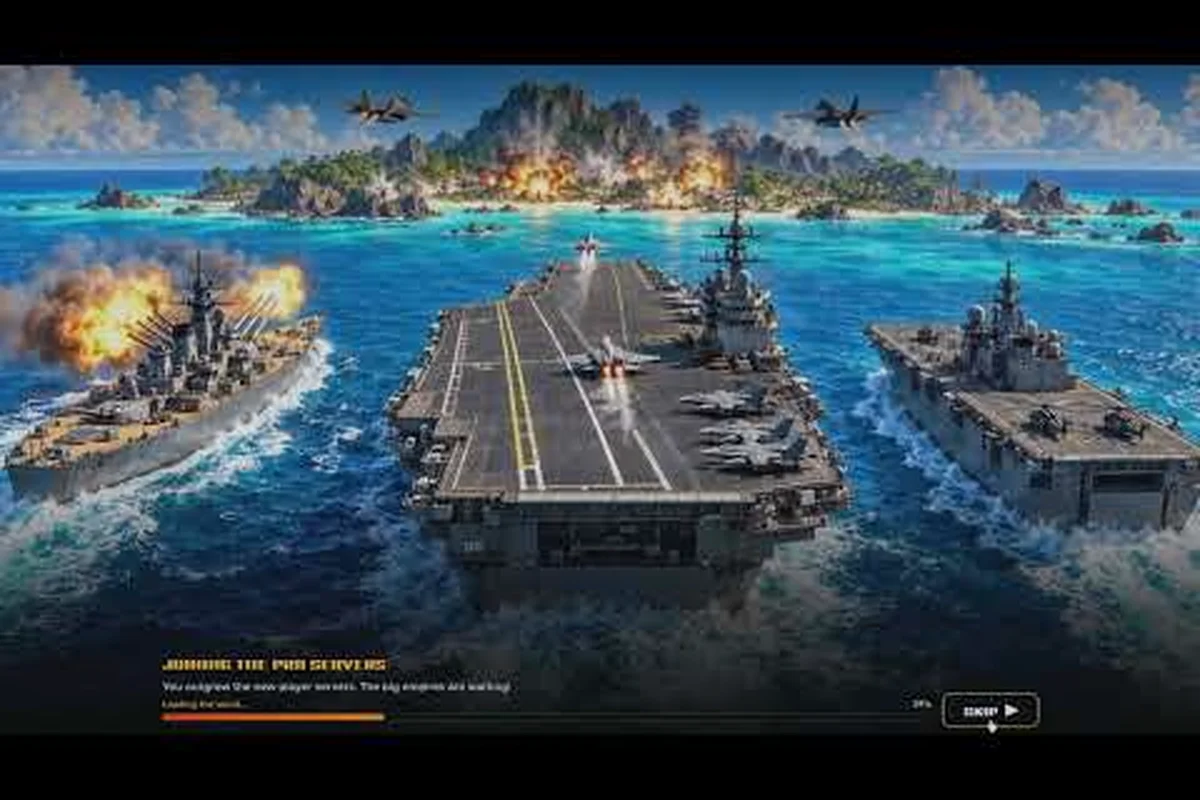
World of Nukes island defense comes down to two systems working together: anti-air that shoots down incoming missiles and aircraft, and shields that absorb nuclear hits. Get those two right and your superpower keeps growing through every attack instead of restarting from rubble.
You can verify the current game details, including available modes and update information, on the official World of Nukes Roblox page.
How Island Defense Actually Works in World of Nukes
Before you place a single turret, you need to understand what you're actually defending against. The official game page describes two defensive layers: anti-air, which intercepts incoming missiles and aircraft mid-flight, and shields, which protect the island from enemy nukes. Those are not interchangeable systems, and treating them as one is the fastest way to lose a developed island.
The core loop is simple to state and hard to master. Rival players and NPC-style threats launch strikes at your island, and every strike you fail to stop costs you buildings, income, and time. Because your island is also your tycoon engine, a successful defense isn't just about survival — it's about keeping your production chain intact so you can out-scale whoever is bombing you.
Community strategy notes consistently recommend balancing the two defensive systems rather than dumping everything into one. A player with maxed anti-air and no shields will still get flattened by a nuke that slips through the interception window, and a player with heavy shields but weak anti-air bleeds buildings to conventional missile spam before the big hit even lands.
Here's the practical split most experienced players settle into: roughly 60–70% of your defensive investment goes into anti-air and 30–40% into shields, because missile and aircraft spam arrives constantly and erodes your tycoon income building-by-building, while nukes are the rarer, catastrophic threat. The reasoning is economic — anti-air interceptors are cheap to replace and fire continuously, so a dense anti-air grid keeps your production chain running through sustained harassment. Shields, by contrast, are expensive, slow to recharge, and only pay off when a nuke actually launches. Skew too far toward shields and you bleed buildings to conventional missile spam between nuke attempts; skew too far toward anti-air and a single nuke that slips the interception window erases an entire developed section of your island.
-
Anti-air handles the high-volume, low-cost strikes — missiles and aircraft that arrive often and cheaply.
-
Shields handle the low-volume, high-cost strikes — the nukes that would otherwise erase a chunk of your island.
-
Redundancy matters more than raw numbers — two medium layers beat one maxed layer.
If you want the deeper breakdown of which specific defensive buildings to prioritize, the best defense loadout guide walks through the upgrade paths in detail — including which turret tiers are worth the cash early versus which shield upgrades only pay off once your island economy can absorb the recharge cost. The key sequencing insight: upgrade your anti-air grid to at least two overlapping coverage rings before touching shield tiers, because a single-ring anti-air setup leaves gaps that missile spam exploits during the reload window. From there, layer shields in front of your highest-value production buildings rather than spreading them evenly, so a nuke that connects only erases expendable structures instead of your income core.
Picking Defense Buildings for Your Island
Every defensive structure you place competes for the same two resources: island space and upgrade currency. That means your defense buildings are a portfolio, not a shopping list. The question isn't "which building is strongest" but "which building earns its footprint right now."
| Defense Type | Best Against | Weak Against | Placement Priority |
|---|---|---|---|
| Anti-air (interceptors) | Missiles, aircraft | Ground-based nukes | High — cover approach lanes |
| Shields | Enemy nukes | Sustained missile spam | High — protect core buildings |
| Point defense | Small repeated strikes | Heavy single hits | Medium — fill gaps |
| Decoy structures | Everything (absorbs one hit) | Nothing (one-time use) | Low — cheap insurance |
The pattern that emerges from that table is that anti-air and shields are your primary investments, while everything else is support. New players often over-build point defense because it feels productive — you see it shooting constantly — but constant shooting doesn't mean effective shooting. If the missiles it kills were never going to reach anything important, those resources were wasted.
A useful rule of thumb from community testing: if a defensive building hasn't intercepted anything in a full attack cycle, it's in the wrong place — relocate it before you upgrade it, because placement is free and upgrades are not. Watch for the classic dead-zone case: an anti-air interceptor tucked behind your shield generator can sit idle all match while enemy missiles slip through the approach lane it was meant to cover, so pull it forward to the lane's mouth first. The same logic applies to point defense parked in a corner no nuke path crosses. Audit each building's kill count after every cycle, and only pour upgrade currency into structures that are demonstrably earning their footprint.
Reading Your Island's Approach Lanes
Strikes don't arrive uniformly from every direction. They come along approach lanes — the paths that give attackers the shortest route to your high-value buildings. Watch where missiles enter your airspace across two or three attacks and you'll usually find that 70% of them funnel through a narrow arc.
Concentrating anti-air along that arc multiplies its effectiveness without costing you a single extra upgrade. This is also why copying someone else's layout rarely works: their lanes aren't your lanes. The island layout guide explains how to reshape your island so those lanes are longer and easier to cover.
World of Nukes How to Protect Island: The Layered Setup
Protecting your island is a sequencing problem. You build outward from what you can't afford to lose, and each layer buys time for the next. Here's the order that works, based on what players report after repeated attack cycles.
Layer 1 — Core shields. Place your first shield so it covers your income-generating buildings, not your defensive buildings. The reason is simple attrition math: a shield generator that dies protecting a turret has traded a high-cost, slow-to-replace asset for a cheap one, while a shield covering your economy keeps the production line running through the entire attack window. Defenses can be rebuilt cheaply; your economy cannot be rebuilt quickly, and every minute of lost production compounds — a single exposed resource building can set your upgrade timing back several minutes, which is exactly the deficit a second attacker exploits. Treat the core shield as an insurance policy on your income, and only extend coverage outward once that policy is active.
Layer 2 — Anti-air on the perimeter. Interceptors want to engage as far from your core as possible, because every missile killed at the edge is a missile that never tests your shields. Put anti-air on the outer ring facing your approach lanes.
Layer 3 — Redundant shields. Once your economy is covered, add a second shield with overlapping coverage. Overlap is the whole point: a single shield with a cooldown window is a single point of failure, and attackers will find that window.
Layer 4 — Cheap decoys. Scatter low-cost structures near the perimeter, keeping them inside your Layer 2 anti-air umbrella so they aren't simply overflown. Each decoy soaks one missile, but the real payoff is target-selection: raiders scanning islands for a soft target see a wider footprint of buildings and pick a visibly emptier island instead. Because decoys cost a fraction of a shield generator, losing three to a probing strike still trades favorably against the nuke that hit them — and every missile spent on a decoy is one that never reaches your Layer 1 core shield. Rebuild them after each attack cycle rather than repairing, since replacement is faster than waiting out damage timers.
The mistake almost everyone makes is building Layer 2 before Layer 1. Anti-air feels more active and satisfying, but an island with strong interception and an exposed economy still loses the war of attrition. The math is unforgiving: a perimeter interceptor battery that downs a full missile wave still lets a single leaker through, and if that leaker lands on an unprotected generator or resource building, you lose production time that no amount of interception can refund. Worse, anti-air built first tempts you to extend the perimeter outward to justify its cost, spreading your footprint and creating more approach lanes for raiders to probe. Sequence it the other way — core shield first, then interceptors — and every missile your anti-air kills at the edge is defending an economy that is already insured, so a leaker costs you a cheap turret instead of your upgrade timing.
World of Nukes How to Block Missiles and Counter Nukes
Blocking missiles and countering nukes are two different skills, and the timing on each is unforgiving. Missiles are a volume problem — you beat them with coverage. Nukes are a timing problem — you beat them with shields that are actually ready when the strike lands.
| Threat | Counter | Timing Window | Failure Mode |
|---|---|---|---|
| Standard missile | Anti-air interception | Continuous | Gaps in perimeter coverage |
| Missile swarm | Overlapping anti-air + decoys | Continuous | Interceptors reloading |
| Aircraft | Anti-air priority targeting | Continuous | Anti-air aimed at ground |
| Enemy nuke | Shield activation | Short — must pre-empt | Shield on cooldown |
The shield cooldown is the single most important number in your defensive setup. A shield that's recharging when a nuke arrives is functionally identical to no shield at all. Experienced players stagger their shields so that at least one is always available, even if that means running two mid-tier shields instead of one maxed one.
Timing Shields Against Incoming Nukes
Shield activation is a decision, not an automatic response. You want to trigger it when a nuke is confirmed inbound, not when you first suspect one. Triggering early burns your window; triggering late means the nuke already landed. Treat the shield as a cooldown-gated resource rather than a panic button: once it's spent, your island sits exposed until it recharges, so a single wasted activation can leave you defenseless against a follow-up strike. Watch the incoming missile's flight path and only commit the shield when the warhead is genuinely locked onto your island — a feint launch from an opponent baiting your cooldown is exactly the trap that punishes reactive players.
Community reports suggest watching for the launch telegraph rather than the impact warning — the extra seconds of lead time are usually the difference between a blocked nuke and a crater. If you're consistently getting caught on cooldown, your problem isn't shield strength, it's shield count. The defense tips collection covers the timing habits that separate players who survive nukes from players who rebuild after them.
World of Nukes Best Defenses: What to Upgrade First
Upgrade priority is where most mid-game players stall. You have limited currency and four or five structures all asking for it, and the wrong order sets you back an entire attack cycle. The ranking below reflects what actually prevents losses rather than what looks strongest on paper.
| Priority | Upgrade | Why It Comes First | When to Skip |
|---|---|---|---|
| 1 | Shield coverage radius | Protects more economy per upgrade | Never — always worth it |
| 2 | Anti-air interception rate | Kills more missiles per cycle | If your perimeter is already clean |
| 3 | Shield count (second shield) | Removes the cooldown gap | If you can't afford the upkeep |
| 4 | Anti-air range | Extends engagement distance | If lanes are already covered |
| 5 | Point defense | Fills small gaps | If gaps are already filled |
The logic behind this order is that coverage beats power. A wider shield protects more buildings than a stronger shield protecting fewer, and a higher interception rate kills more missiles than a longer range that engages the same number of targets. Power upgrades only pay off once coverage is saturated.
When to Stop Upgrading and Start Expanding
There's a point where another defensive upgrade returns less than a new economic building. That point arrives when your last three attacks were fully repelled without losing a structure. At that stage, defense has done its job and further investment is insurance against a threat that isn't currently materializing.
Redirect that currency into island growth, then revisit defense when you notice attacks getting through again. Defense spending should be reactive to actual losses, not proactive to imagined ones. The build order guide lays out how to sequence that expansion without leaving yourself exposed during the transition.
Common Island Defense Mistakes That Cost You Nukes
Most islands that fall to nukes don't fall because of weak defenses — they fall because of a handful of repeatable errors. Fixing these costs nothing and prevents the majority of losses. The pattern shows up in almost every failed layout: a single cluster of anti-air turrets stacked beside the command center, no staggered shield coverage over income buildings, and zero replay review after a nuke slips through. Each of these mistakes compounds the others, which is why a player with maxed defenses can still lose to a cheaper, better-spread attack.
-
Clustering all defenses in one spot. A single well-placed strike removes your entire interception capability. Spread anti-air across the perimeter even if it means weaker local coverage.
-
Shielding the wrong buildings. Shields should cover income, not turrets. Turrets are replaceable; production time is not.
-
Ignoring the cooldown gap. One shield is a coin flip. Two staggered shields are a guarantee.
-
Upgrading before repositioning. A misplaced maxed turret is worse than a well-placed basic one, because you've locked in the mistake.
-
Never watching replays. Every attack tells you which lane was used and which layer failed. Players who review their losses fix their layouts in half the time.
The clustering mistake deserves extra emphasis because it's the most common and the most expensive. New players naturally build defenses near their base because that's where they're looking, but that's exactly where attackers expect them. Perimeter placement forces attackers to fight through your defenses before they reach anything valuable.
Frequently Asked Questions
What is the most important part of World of Nukes island defense?
Shield uptime is the single most important factor, because a nuke that lands erases more value than any number of intercepted missiles saves. Pair at least two staggered shields with perimeter anti-air so you never face a nuke with zero active protection.
How do I stop missiles from reaching my island?
Build anti-air along your approach lanes rather than evenly around the island. Missiles funnel through predictable arcs, so concentrating interception where strikes actually arrive kills far more of them than spreading the same number of turrets across the full perimeter.
Should I build anti-air or shields first?
Shields first, covering your income buildings. Anti-air is the stronger long-term investment, but an exposed economy loses the attrition war before anti-air upgrades pay off — every generator or factory lost to a single leak sets your interception tech back a full build cycle. Once your production is shielded, shift spending to interception, layering anti-air along the approach lanes rather than spreading it thin.
How do I counter nukes when my shield is on cooldown?
You don't — you prevent the situation by running two shields with staggered cooldowns so one is always ready. If you're caught with both recharging, the nuke lands and you rebuild; there's no reactive counter once the strike is confirmed.
Can I survive enemy nukes with a small island?
Yes — and small islands actually get more value per shield, because a single shield's coverage radius protects a higher percentage of your total buildings when your footprint is compact. Concentrate on coverage radius over raw shield strength, and cluster your generator and factory blocks tightly so one staggered pair of shields overlaps the whole economy rather than stretching to cover scattered outliers. A dense layout also shortens your perimeter, which means fewer anti-air turrets can guard every approach lane — the same interception budget that thins out across a sprawling island stays concentrated on a small one. Keep the footprint compact until your two-shield rotation and perimeter anti-air are stable, then expand outward.
Putting Your Island Defense Together
The whole system reduces to a simple checklist you can run before every session: shields covering income, anti-air on the lanes, a second shield for the cooldown gap, and decoys on the edge. Everything else is refinement. Players who internalize that structure stop losing islands to surprise nukes and start treating attacks as free information about where their coverage is thin.
Defense in World of Nukes isn't a wall you build once — it's a response to how you're actually being attacked. Watch your lanes, stagger your shields, upgrade coverage before power, and let your economy carry the rest.