
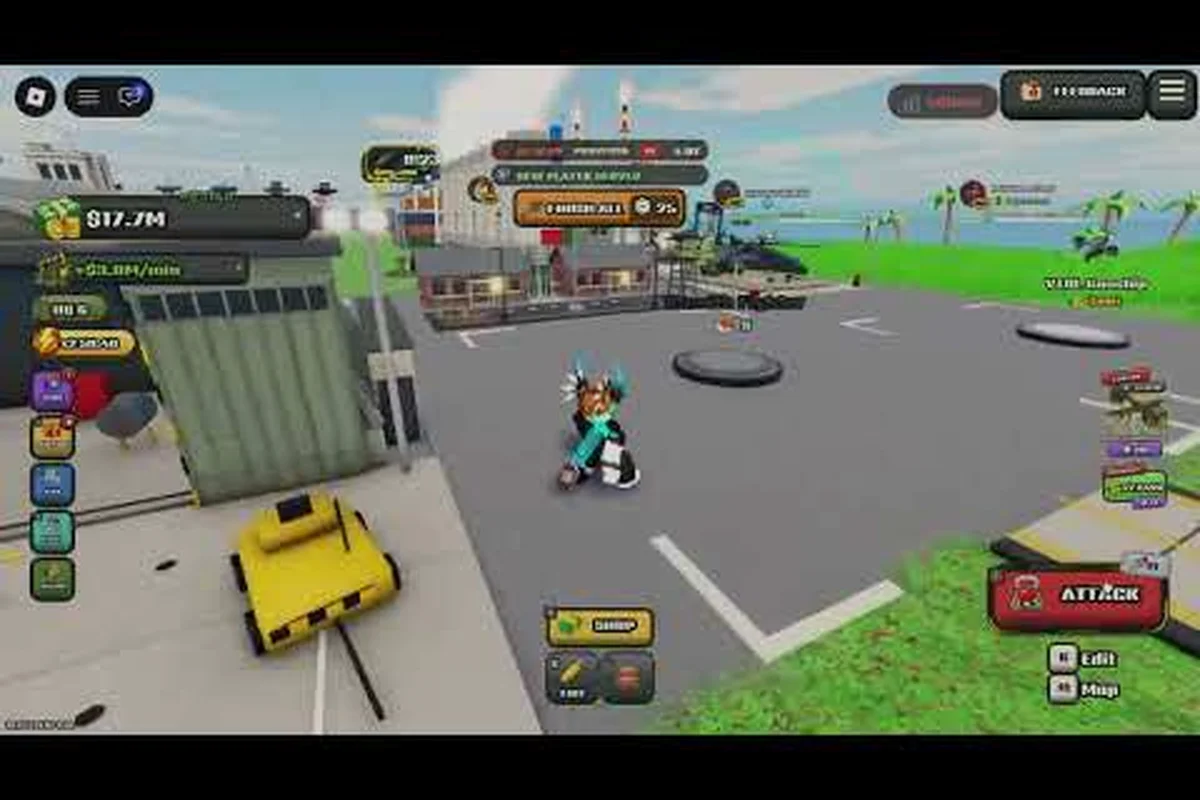
Your island in World of Nukes survives only as long as your defenses hold, and this world of nukes defense guide shows you how to stop missiles and jets before they reach your core. Anti-air and shields are the two systems that decide whether you keep growing or restart from scratch, so getting them right early saves hours of rebuilding.
The Two Pillars of Defense in World of Nukes
Defense in this Roblox strategy game rests on two pillars, and the official game page describes them clearly: anti-air intercepts incoming missiles and aircraft, while shields protect the island from enemy nukes. Neither system wins alone. A player who stacks anti-air but skips shields will still get flattened by a well-timed nuke, and a player who hides behind shields without anti-air lets jets chip away at exposed structures.
The core loop is simple to understand but hard to master. Every attack you launch invites retaliation, and the community strategy notes stress that a superpower keeps growing only when it balances both defensive layers. That balance is the whole game.
Here is how the two systems compare at a glance, and the distinction matters more than most new players realize: anti-air is your early-game insurance against fast, cheap harassment, while shields are a mid-game investment that only pays off once you can afford to keep them charged. The table below breaks down what each layer stops, where it fails, and when to prioritize upgrades — note that island layout sits alongside both as a passive multiplier, since spreading structures reduces blast spread without intercepting anything directly.
| System | Stops | Weakness | Upgrade Priority |
|---|---|---|---|
| Anti-air | Missiles, jets, aircraft | Overwhelmed by missile swarms | Early game |
| Shields | Enemy nukes | Useless against jets | Mid game |
| Island layout | Reduces blast spread | No direct interception | Always |
A few foundational rules shape every defense decision: anti-air reaches further and reloads faster than shields, so it anchors your outer perimeter against jets and missile volleys, while shields sit closer to high-value structures like your capital and nuclear silos where a single nuke would otherwise end the run. Because island layout is a passive multiplier that reduces blast spread without intercepting anything, treat it as a free layer that stacks under both systems rather than a replacement for either. The practical takeaway is sequencing — fund anti-air batteries before your first expansion, then divert income into shield coverage once rivals begin unlocking nukes, since a shield that stays uncharged during a missile swarm is just wasted upkeep.
-
Anti-air comes first because jets and missiles arrive faster than nukes and punish undefended players within minutes.
-
Shields scale with your economy and become essential once rivals unlock nukes.
-
Layout matters — spreading structures limits how much a single blast destroys.
-
Redundancy wins — one anti-air battery is a target; three is a wall.
If you want a broader look at how these pieces fit together, the defense tips breakdown covers the supporting systems that make anti-air and shields more effective. The key takeaway is that defense is not a single purchase but a layered habit you build into every expansion.
Building an Anti-Air Screen That Actually Works
Your world of nukes anti air setup is the first thing you should invest in after securing basic income. Anti-air intercepts missiles and aircraft, but it only performs when you place it where attacks actually come from. New players often cluster every battery in one corner, which leaves half the island open to a flanking jet run.
Think of anti-air as a screen rather than a wall. A screen covers angles; a wall covers one spot. Spread your batteries so overlapping coverage zones catch missiles from multiple directions, and keep at least one battery near your most valuable structures.
Placement Principles for Anti-Air
Coverage beats raw count in almost every situation. Two well-placed batteries intercept more threats than four stacked in one spot, because the stacked ones share the same blind spots. Place batteries along the approach lanes enemies favor and rotate coverage as your island grows.
| Placement Style | Coverage | Best For | Risk |
|---|---|---|---|
| Corner cluster | Low | Nothing | Wide-open flanks |
| Perimeter ring | High | Balanced islands | Higher build cost |
| Layered interior | Medium-high | Protecting core | Needs outer bait structures |
The perimeter ring is the safest default for most players. It costs more, but it forces attackers to break through multiple interception points before reaching anything valuable. Layered interior placement works well once you have bait structures on the outside that soak up early missiles.
Timing and Target Priority
Anti-air does not fire on everything at once, so target priority matters. Missiles travel faster than jets and hit harder, which means your batteries should favor incoming missiles when both appear. Community reports suggest that players who manually watch their anti-air during an attack survive noticeably more often than those who ignore it.
Keep a mental checklist during raids: first, scan for missile volleys because they close the distance faster than jets and leave the least reaction time; second, trace each jet flight path to confirm your anti-air screen actually covers the approach angle rather than just the coastline. A single uncovered corridor — for example, a gap left after expanding toward a new resource island — lets bombers slip past even a dense battery cluster, so mentally walk the perimeter each raid and flag any battery that stopped firing. Note which anti-air pieces took damage or went silent, since a destroyed battery creates a permanent hole until replaced.
-
Watch for missile volleys first, since they arrive with less warning.
-
Track jet flight paths and confirm your screen covers their approach.
-
Repair or replace damaged batteries immediately after an attack ends.
-
Reassess coverage every time you expand the island.
For a deeper comparison of how anti-air and shields trade off against each other, the anti-air versus shields analysis walks through the numbers behind each choice. The short version: anti-air is your fast-response layer, and it should never be neglected in favor of shields alone.
Shields: Timing, Coverage, and Nuke Survival
Learning how to build shields in World of Nukes is where most players either pull ahead or fall behind. Shields protect the island from enemy nukes, but they are not a permanent bubble. Timing and coverage determine whether a shield saves your core or simply delays the inevitable.
The world of nukes shield guide principle is straightforward: a shield absorbs a nuke hit, then needs to recover. If an enemy fires two nukes in quick succession and your shield is still recharging, the second one lands clean. That is why serious defenders build overlapping shield coverage rather than relying on a single generator.
| Shield Setup | Nuke Hits Absorbed | Recovery Speed | Recommended Use |
|---|---|---|---|
| Single generator | One hit | Slow | Early protection only |
| Dual generators | Two staggered hits | Moderate | Standard mid-game |
| Distributed grid | Multiple hits | Fast rotation | Late-game core defense |
When to Raise Shields
Raise your first shield the moment rival players start unlocking nukes, not after you get hit. Waiting for the first strike usually means losing your most expensive structures before you can react. A shield that goes up one raid too early costs far less than one that goes up one raid too late.
Distributed grids shine in the late game because they rotate coverage. When one shield absorbs a hit, another covers the gap while the first recovers. This rotation is the difference between surviving a nuke exchange and losing your island core.
Reading the Threat Before It Lands
Experienced defenders watch for the warning signs of an incoming nuke: rival build-ups, sudden resource dumps, and shifts in attack patterns. According to community data, most nuke strikes follow a visible preparation phase, and players who notice it can pre-position shields and anti-air before the launch.
Practical habits that keep shields ready: treat your shield grid as a rotation rather than a one-time build, so a generator is always recharging while another absorbs fire. Set a personal rule to re-arm a downed generator the moment its cooldown ends instead of waiting for the next raid warning, since a shield left offline for even one attack window is effectively free real estate for a nuke. Track your anti-air coverage against your shield footprint — if a generator sits outside your SAM umbrella, relocate it or add a launcher before upgrading shield tiers, because a disabled generator costs more rebuild time than a cheap launcher does. Log each strike you survive and note which layer failed first; that pattern tells you whether to invest in more shield capacity or tighter anti-air overlap.
-
Keep one shield in reserve so a surprise strike never catches you uncovered.
-
Repair shield generators before they fail, not after.
-
Pair shields with anti-air so jets cannot disable generators first.
-
Store emergency resources for instant rebuilds after a hit.
The defensive strategy deep dive explains how to chain these habits into a repeatable routine. Shields are only as good as the player timing them, and timing improves with every raid you observe.
A Practical Defense Build Order
Knowing the theory is one thing; executing a build order under pressure is another. This world of nukes defense guide section gives you a concrete sequence you can follow from your first minutes on a fresh island. The order below assumes a standard start with limited resources and active rivals.
| Phase | Priority | Action | Why It Matters |
|---|---|---|---|
| 1 | Anti-air | Build first battery near core | Stops early jet harassment |
| 2 | Economy | Expand income structures | Funds deeper defense |
| 3 | Anti-air | Add perimeter coverage | Closes flanking lanes |
| 4 | Shields | Raise first generator | Survives first nuke |
| 5 | Layout | Spread key structures | Limits blast damage |
| 6 | Shields | Add second generator | Enables rotation |
Follow the phases in order and resist the urge to skip ahead. Players who rush shields before anti-air often lose to jets while their shield recharges, and players who over-invest in anti-air without economy stall out and cannot afford shields later.
A few execution notes that make the build order smoother: queue your anti-air battery before your first income expansion so the structure finishes covering the new lane rather than the reverse, and keep roughly one repair cycle's worth of resources banked so a jet strafe never forces you to cancel a shield generator mid-build. When scouting reveals a rival has started their nuke unlock, jump straight from phase 4 to phase 6 — the second shield generator's rotation window matters more than finishing perimeter anti-air. Log damage after each raid against the phase table above; if your core takes hits in phase 2, your anti-air coverage is too thin and economy expansion should pause until it's patched.
-
Build anti-air before your first big expansion so new structures are covered from day one.
-
Keep a repair buffer of resources at all times; post-attack repairs are cheaper than rebuilds.
-
Watch rival progress and accelerate your shield phase if you see nuke unlocks.
-
Test your layout by reviewing damage after each raid and adjusting placement.
The base defense fundamentals expand on unlocking and upgrading both systems, which is useful once you outgrow the starter build order. Treat the sequence above as a skeleton and adapt it to how aggressive your server is.
How to Survive Nukes When Everything Goes Wrong
Even perfect defense sometimes fails, and knowing how to survive nukes after a breach is a skill in itself. The difference between a setback and a wipe is how fast you recover and whether your core structures were spread out enough to avoid a single blast.
Survival starts before the strike. If your most valuable structures sit in one tight cluster, a single nuke erases your progress. Spreading them forces attackers to spend multiple nukes for the same damage, which most players cannot afford. The island building guide covers spacing and layout in detail, and it pairs naturally with defensive planning.
Recovery checklist after a nuke lands: first confirm whether your shield generator absorbed the hit or was destroyed outright, since a surviving shield means you can hold position while a lost one exposes your core to a second strike. Prioritize repairs in this order — anti-air, shields, then economy — because a single nuke rarely travels alone and follow-up jets exploit the gap. Keep at least one nuke's worth of resources banked for instant rebuilds, and log the blast radius so you can re-space structures before the next raid.
-
Assess which systems survived and restore anti-air first, since follow-up jets often arrive quickly.
-
Rebuild shield generators before economy structures if rivals still have nukes ready.
-
Spend stored reserves on repairs rather than new expansion.
-
Adjust layout based on where the blast landed.
Community reports consistently show that players who keep a reserve fund recover roughly twice as fast as those who spend everything on expansion. That buffer is not wasted resources; it is insurance against the one raid that gets through. Treat the reserve as a fixed line item rather than loose cash — enough to instantly re-place a destroyed shield generator and a downed anti-air turret without waiting on passive income ticks. The reason is timing: rebuilding during the gap between the first nuke and the follow-up jet wave is what prevents a second breach, and players who must farm resources first lose that window entirely. Spending the reserve on expansion instead means one successful raid can cascade into a full wipe.
The official World of Nukes game page confirms both anti-air and shields as core defensive systems, which is worth reviewing if you want to verify mechanics directly. You can also check the Build. Defend. Nuke. group page for community updates and reward details tied to the developer team.
Frequently Asked Questions
What should I build first for defense in World of Nukes?
Build an anti-air battery near your core before anything else. Jets and missiles arrive early and often, and undefended players lose structures within minutes. Once your income supports it, add a shield generator so you can absorb the first nuke strike without losing your most expensive buildings.
How many anti-air batteries do I need?
Most players do well with three to four batteries arranged in a perimeter ring, because overlapping coverage catches missiles from multiple angles. Stacking batteries in one corner leaves flanks open, so spread them out and rotate coverage whenever you expand your island.
Do shields block jets too?
No. Shields protect the island from enemy nukes, while anti-air handles missiles and aircraft. That is why you need both layers: shields alone let jets chip away at exposed structures, and anti-air alone cannot stop a nuke from cracking your core.
How do I survive a nuke that already hit my island?
Restore anti-air first, since follow-up jets often arrive right after a nuke. Rebuild shield generators before economy structures if rivals still have nukes ready, and spend any reserve resources on repairs rather than expansion so you recover fast enough to stay in the game.
Can one shield generator protect my whole island?
Only early on. A single generator absorbs one hit and then recovers slowly, so a second nuke fired during the recharge lands clean. Serious defenders build dual generators or a distributed grid so coverage rotates and no single hit exposes the core.