
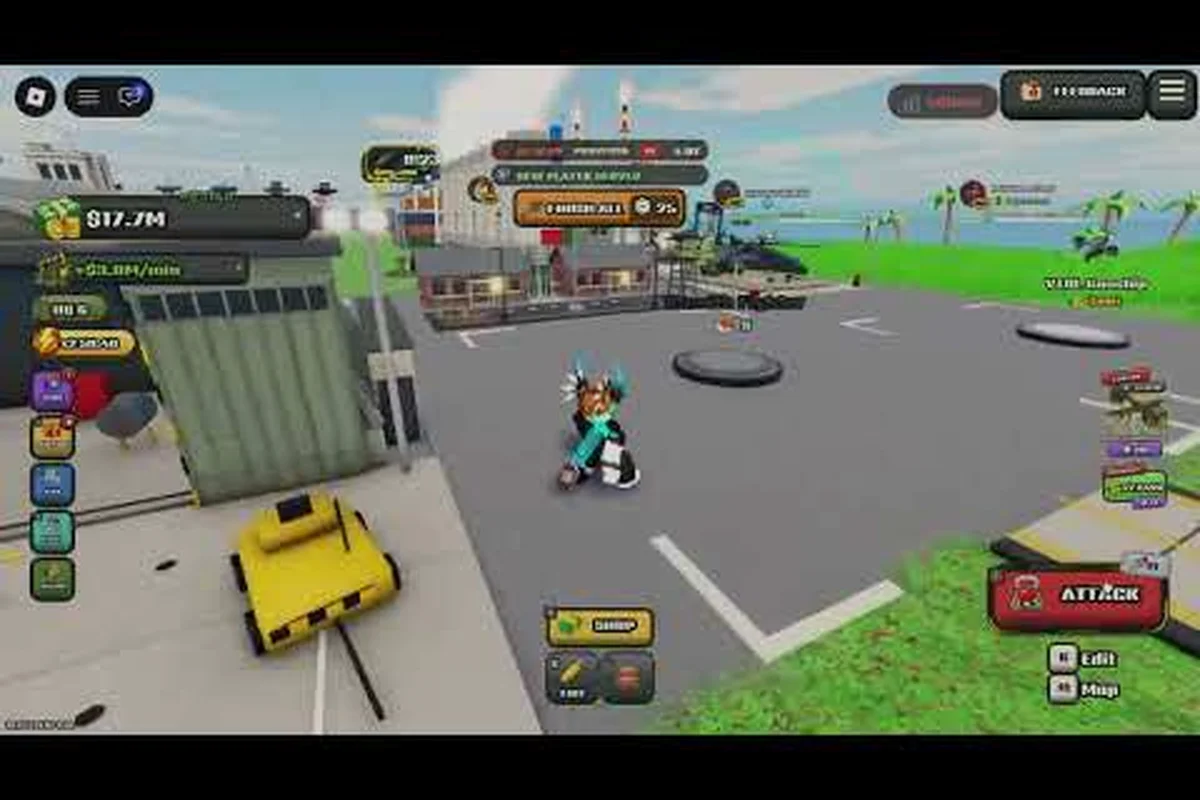
A solid World of Nukes defense layout decides whether your island survives the first real war or gets flattened in one volley. This guide shows how to ring your core with shields, stagger anti-air coverage, and set a defense priority that keeps missiles and nukes from ever touching your income.
Why Your Defense Layout Beats Raw Upgrade Levels
Most players lose their first island because they buy the biggest shield they can afford and plant it in a corner. Placement matters more than tier. The official game page confirms defense comes from two separate systems — anti-air, which intercepts incoming missiles and aircraft, and shields, which protect the island from enemy nukes — and those two systems cover different threats, so they need different positions on your land.
Think of your island as three layers. The core sits in the middle and holds everything you cannot afford to lose. The income ring wraps around the core with your money structures. The outer shell is where interception happens, far enough out that a downed missile does not splash your economy.
When those layers collapse into each other, a single leak becomes a total loss. Community island-building footage from creator Zainrail shows players rebuilding after updates change building sizes, which is a good reminder that a layout is never finished — it is maintained.
Here is the baseline coverage each layer should provide before you spend another dollar on upgrades: the core needs your highest-tier shield stacked directly over the structures you cannot replace, because a single unshielded nuke hit there ends the run; the income ring needs enough generator and storage spread that losing one cluster does not stall your rebuild; and the outer shell needs anti-air batteries positioned wide enough that their interception cones overlap rather than leaving a seam for missiles to thread. Treat these as minimums, not goals — a layer that fails its baseline job makes every upgrade above it worthless, since a leak at the core erases whatever the outer shell intercepted.
| Layer | Primary job | Buildings to place | Failure cost |
|---|---|---|---|
| Core | Survive a direct nuke hit | Best shield you own, stacked | Island wipe |
| Income ring | Keep cash flowing during a raid | Generators, storage, cash structures | Slow rebuild |
| Outer shell | Intercept missiles and aircraft | Anti-air batteries, spread wide | Chip damage leaks through |
| Buffer gaps | Absorb splash and buy reaction time | Empty land, decoy structures | Minor |
The practical takeaway: never upgrade a shield past the point where your anti-air is still one lonely battery. A balanced defense grows in both directions at once, because missiles and nukes arrive together in most raids. Concretely, if you dump your entire upgrade budget into a higher-tier core shield while the outer shell still runs a single anti-air battery, you widen the seam that missile volleys exploit — the shield absorbs the nuke, but the un-intercepted missile chips your income ring and stalls the rebuild. Split spending so each upgrade tier on the shield is matched by at least one added anti-air battery or widened interception cone out on the shell; that ratio keeps both threat types covered instead of trading one leak for another.
Defense Priority Order: Early Raids to Late Game
Defense priority is the order in which you spend money when a raid is coming and you cannot afford everything. Getting this order wrong is the single most common reason islands fall — players max a shield while three missiles slip past an empty sky.
The official Roblox game page lists both anti-air and shields as the defensive backbone, and community strategy notes recommend balancing the two so a superpower keeps growing through attacks rather than stalling after each hit. That balance is not 50/50. It shifts with what your opponents are actually throwing.
The Early-Raid Priority Order
Early on, missiles are cheap and common while nukes stay rare because each nuke costs the attacker far more than a missile volley, so anti-air pays for itself first. Every missile you intercept is a cheap trade against a low-cost attacker, whereas even one leaked nuke wipes a building you spent minutes upgrading. That cost asymmetry is the whole reason your first defense budget goes to anti-air, not shields: a shield only matters once a nuke is already inbound, but anti-air stops the routine missile harassment that drains your economy before nukes ever appear. Follow this sequence until your island has real depth:
-
First anti-air battery — place it on the side of the island facing the most active neighbors.
-
Second anti-air battery — opposite side, so a single approach angle cannot overload you.
-
Your best shield over the core — even a mid-tier shield changes a nuke from fatal to survivable.
-
Third anti-air battery — fills the diagonal gap most raiders exploit.
-
Shield upgrade — only after three anti-air sources are online.
When to Flip the Priority
Once your server matures, nukes become the meta because they ignore partial interception and hit hard. At that point the priority flips: shield tiers and shield count move ahead of a fourth anti-air battery. Watch for the tell — if you are losing structures to single large detonations rather than steady chip damage, you are being nuked, not missiled, and your money belongs in shields.
| Raid pattern you observe | What it means | Where money goes next |
|---|---|---|
| Steady small losses, no craters | Missile pressure | More anti-air coverage |
| One huge crater, instant loss | Nuke strike | Higher shield tier |
| Aircraft circling before hits | Air raids | Anti-air range and count |
| Losses only on one side | Coverage gap | Reposition, then add a battery |
If you want the deeper breakdown of which specific buildings win these trades — the exact shield tiers that shrug off a single large detonation, the anti-air batteries whose range actually covers a full approach lane, and the structures that quietly waste a slot — the best defense setups compared walks through the individual options and their raw stats rather than the layout around them. Read it alongside this guide: use it to pick the right building for the priority your raid pattern points to, then use the placement logic here to decide where that building sits, so a higher shield tier covers the crater-prone flank instead of an already-safe corner.
How to Stop Missiles With Staggered Anti-Air
Missiles are fast, cheap, and arrive in volleys. The mistake is clustering anti-air into one strong point — a cluster intercepts one approach beautifully and leaves the rest of the island naked. Staggering means every approach angle crosses at least two batteries before it reaches your income ring.
The Triangle Rule
Place three anti-air batteries in a rough triangle around the core, each roughly the same distance out. Any missile path from any direction crosses at least one battery, and most cross two. This is the cheapest coverage upgrade in the game because it costs placement, not cash.
Keep these rules in mind when you place them: the triangle only pays off if each anti-air battery stays far enough apart that their range circles barely kiss rather than overlap, since two SAM sites covering the same airspace effectively halve your defended perimeter for the price of two. On a standard map, spacing batteries roughly one-third of the map's width apart around the core lets a single triangle intercept missile paths from three quadrants at once, which is why this layout beats upgrading a single battery's level early on — placement multiplies coverage, while upgrades only sharpen one node. Rotate the triangle's facing toward the sea if that is your exposed flank, and treat the core's resource buildings as the triangle's center of gravity so no battery sits so far out that a fast missile slips behind it.
-
Spread, do not stack — overlapping batteries waste range on the same airspace.
-
Cover the water approach — most players attack from the open sea side because it looks undefended.
-
Leave the batteries visible — a visible battery deters casual raiders before they launch.
-
Rebuild immediately after a hit — an empty slot invites a second wave.
Reading the Interception Window
Anti-air does not stop everything; it thins the volley. Community reports describe interception as a race between the missile's flight time and your battery's reach, which is why distance from the core matters. A battery placed right next to your cash structures intercepts late, and a late interception still lands splash damage on the thing you were protecting.
Pushing batteries outward until they sit between the island edge and the income ring turns the interception window into a buffer zone rather than a last-second save. The mechanic is spatial: a missile intercepted directly above a generator still rains its wreck onto that tile, so the kill counts but the damage lands anyway. Shift the battery two or three tiles seaward and the same interception now resolves over empty ground or water, where falling debris hits nothing that produces income. Treat the gap between your outer ring and the shoreline as a designated crash corridor — the wider you keep it, the more of your AA coverage converts into genuinely zero-damage outcomes instead of cosmetic kills. For a wider look at how these buildings interact with island terrain and expansion, the island defense and protection breakdown covers terrain choices that make staggered coverage easier to maintain as your land grows.
How to Stop Nukes: Shield Layering That Actually Holds
Nukes are the reason shields exist, and one shield is never enough once raiders have money. The official description is blunt about it: shields protect the island from enemy nukes, and nothing else does. Anti-air cannot save you from a warhead that gets through, so shield depth is your only insurance.
Stack Shields, Do Not Spread Them
Shields are the one defensive building you should cluster. Every shield that covers the core adds another layer a nuke must break, and a nuke that breaks one layer usually has nothing left for the second. Spread shields across the island and each one covers a different, thinner slice of your base.
A practical core stack looks like this: three shields in depth, each doing a different job. The innermost shield sits directly over the core and takes the warhead itself, so it gets your highest-tier upgrade — that is where world of nukes defense upgrades pay off most. The middle ring absorbs the first layer of any strike, the outer edge of the core zone gives early warning and partial absorb at an affordable tier, and a spare shield stays in storage for instant rebuild. Stacking this way means a single nuke has to chew through three separate shield layers before it ever touches the core.
| Shield position | Purpose | Upgrade target |
|---|---|---|
| Innermost, over the core | Last line, absorbs the warhead | Highest tier you own |
| Middle ring | Eats the first layer of the strike | Second-highest tier |
| Outer edge of core zone | Early warning and partial absorb | Keep at affordable tier |
| Spare shield in storage | Instant rebuild after a break | Do not upgrade |
That spare shield matters more than it sounds. After a nuke breaks your outer layer, the rebuild window is short, and players who keep a shield ready in storage recover in seconds while others watch their core sit exposed. Treat the spare as a consumable, not a display piece: the moment your outermost shield drops, drop the stored one onto the core stack and re-upgrade it only to the tier you can afford, since a fresh low-tier shield beats a missing layer every time. Skipping the spare upgrade also frees resources for the innermost shield, where world of nukes defense upgrades actually decide whether the warhead dies on the last layer.
Choosing the Best Shield for Your Budget
The best shield is not always the most expensive one — it is the highest tier you can keep repaired. A top-tier shield that you cannot afford to rebuild after one hit is worse than two mid-tier shields that come back online immediately. Compare tiers by rebuild cost, not just protection value, and buy the tier whose replacement cost fits inside one income cycle.
If cash flow is the constraint holding your shield stack back, the cash and rewards economy guide explains which income structures pay back fastest so your defense budget keeps pace with raiders. The practical rule: match your shield tier to your income cycle, not your stockpile. A player earning 5,000 cash per cycle who buys a 20,000 rebuild-cost shield is one missile hit away from a dark grid, whereas the same player running two 8,000-cost mid-tier shields can absorb a strike and re-buy within a single cycle. Treat rebuild cost as a recurring line item in your defense layout, and only step up a tier once your passive income covers the replacement cost twice over — that buffer is what turns a shield from a one-hit luxury into a sustainable layer of your world of nukes defense priority.
World of Nukes Defense Upgrades: What to Buy and When
Upgrades are where most defense budgets leak. Players buy the shiny top-tier item, then discover they cannot afford the coverage that makes it useful. The fix is to sequence purchases against your actual layout gaps: if your world of nukes defense priority is stopping missiles before they reach the silo ring, a mid-tier interceptor upgrade that closes two approach lanes beats a single premium shield node that guards one. Spend first on the upgrade that raises coverage across your most-attacked vector, then reinvest saved resources into the next weakest lane. Treat upgrades as a sequence tied to your layout, not a shopping list.
Upgrade Sequence That Matches Your Layout
-
Anti-air range before anti-air damage — range extends the interception window, which prevents hits rather than softening them.
-
Shield tier before shield count — one strong shield over the core beats two weak ones until you can afford a real stack.
-
Coverage before power — a third battery at base tier usually outperforms a second battery at max tier.
-
Repair speed last — only worth buying once your layout already survives most raids.
What Not to Upgrade
Skip upgrades that only help after something has already failed. Repair speed, for example, is a recovery stat — it does nothing during the raid itself. Early on, every dollar in recovery is a dollar not spent on prevention, and prevention is what keeps your island intact.
| Upgrade | Best timing | Skip if |
|---|---|---|
| Anti-air range | Before your third battery | You have fewer than two batteries |
| Shield tier (core) | Once one shield covers the core | Your income ring is undefended |
| Additional anti-air battery | Whenever a gap appears | Batteries already overlap heavily |
| Repair speed | After your layout survives most raids | You still lose structures regularly |
The community group behind the game, the Build. Defend. Nuke. Roblox group, notes that liking the game and joining grants free rewards, which is a low-effort way to pick up extra resources for defense without touching your income plan.
Common Layout Mistakes That Get Islands Wiped
Even players with good upgrades lose islands to layout errors, because a defense layout in World of Nukes is a coverage problem before it is a firepower problem: a maxed shield generator or a fully upgraded SAM battery still fails if its radius overlaps dead space, and a single unshielded approach lane lets an attacker walk a missile straight into the core. These are the repeat offenders reported across community play:
-
Shield in a corner — covers almost nothing; the core takes the full hit.
-
All anti-air on one side — the attacker simply flies around it.
-
Income structures touching the core — one nuke takes your defense and your economy together.
-
No buffer land — splash damage reaches structures that were never targeted.
-
Defense built after the raid starts — placement takes time; do it during peace.
The fix for most of these is the same: keep the core dense, keep the income ring separate, and keep interception far out. A layout that follows those three rules survives mistakes in upgrade order, which is more than most islands can say.
Frequently Asked Questions
What is the best World of Nukes defense layout for a new island?
Start with three anti-air batteries in a triangle around the core, then place your best shield directly over the core and keep income structures in a separate ring. This covers both missiles and nukes without requiring expensive upgrades, and it scales cleanly as your island expands.
What should my World of Nukes defense priority be early on?
Buy anti-air first, because missiles are cheap and common in early raids. Add a second and third battery before upgrading any shield, then move shield tiers ahead of a fourth battery once opponents start throwing nukes. Balance shifts toward shields as the server matures.
How do I stop nukes if anti-air cannot intercept them?
Only shields stop nukes, so stack them over the core instead of spreading them across the island. Each layer absorbs part of the strike, and a spare shield in storage lets you rebuild the outer layer within seconds of a break.
Is the most expensive shield always the best shield?
No. The best shield is the highest tier you can afford to rebuild after a hit. A top-tier shield you cannot replace leaves the core exposed, while two mid-tier shields come back online fast and keep the stack intact through repeated raids.
Do defense upgrades matter more than layout?
They work together, but layout comes first. Good placement with mid-tier upgrades survives many more raids than perfect upgrades placed badly, because coverage decides whether a missile or nuke reaches your core at all. Upgrade after the layout is sound.