
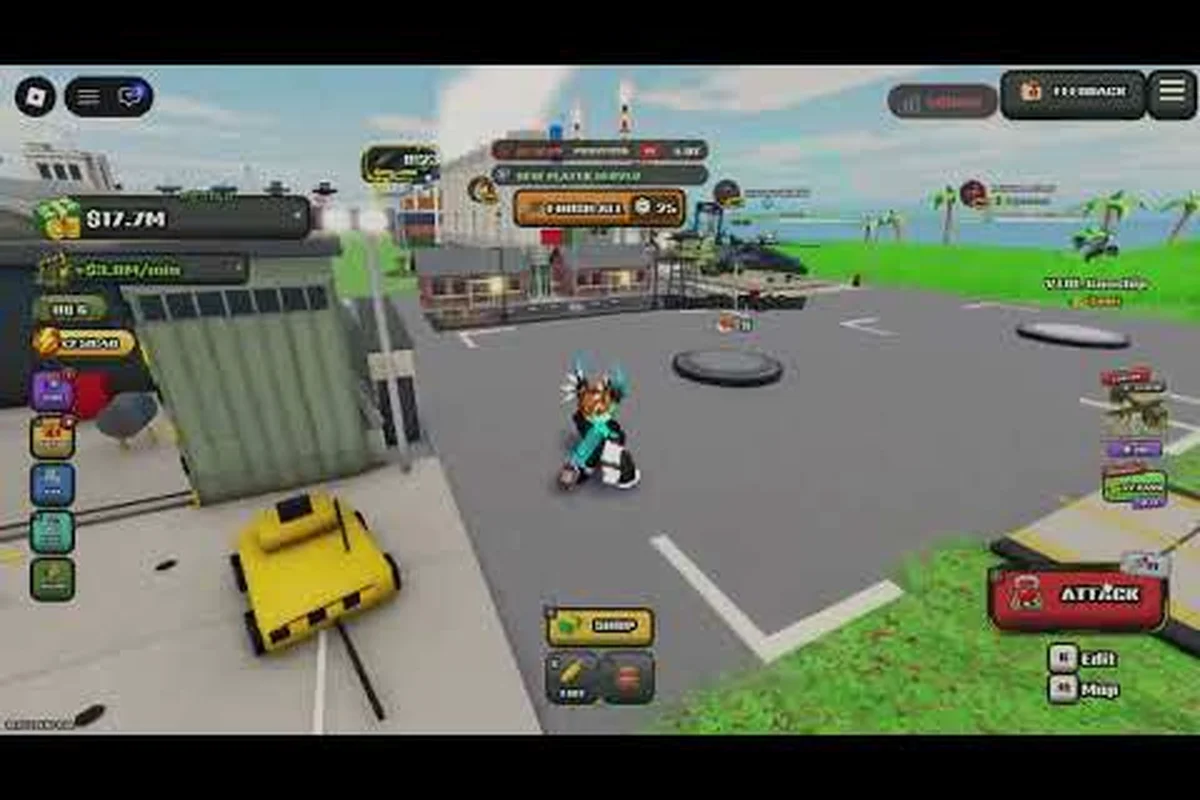
A tight, well-planned World of Nukes best layout is the difference between an island that stalls at the first missile and one that snowballs into a superpower. This guide breaks down spacing, upgrade routing, and unlock order so your tycoon keeps compounding income instead of wasting land.
For a full breakdown of the game's mechanics and base-building systems, see the official World of Nukes page on Roblox.
Why a Compact Layout Beats a Sprawling Island
Every plot of land in this Roblox island-nation tycoon is a resource, and the official page makes the tradeoff clear: you start with a tiny camp and expand gradually, so early space is genuinely scarce. A compact footprint keeps your income structures within a short walk of each other, which cuts the travel time between collection points and lets you cycle upgrades faster. Players who scatter buildings across the whole island usually hit a wall around the mid-game, because they run out of room for anti-air and shields exactly when raids start arriving.
The core principle behind any strong World of Nukes island tycoon setup is density with a purpose. You want income buildings clustered, but you also want a reserved ring of empty land around your core for defense. That means planning two zones from the very first placement: an inner production block and an outer buffer.
A few practical guidelines shape the whole plan: treat the inner production block as a fixed grid where every income building shares at least one wall with a neighbor, so a single collection sweep touches your entire cash flow before the next upgrade timer ticks. Then size the outer buffer ring to roughly one building-width on all four sides — that gap is where anti-air, shields, and missile sites slot in later without forcing you to demolish a maxed income structure, which wastes both cash and rebuild time. Finally, keep the central corridor clear from the start, because expansion buildings unlock in sequence and a blocked path turns a quick collect run into a long detour around your own base.
-
Keep income buildings adjacent to each other so collection routes stay short.
-
Reserve a perimeter ring for anti-air, shields, and missile sites before you need them.
-
Leave one wide corridor through the middle so you can still navigate after expansion.
-
Avoid placing decorative or low-value structures in the center — the center is prime real estate.
Community builders who rebuild after each update report that keeping structures close together is the single biggest time-saver, since travel between distant buildings eats into the collection loop. If you want a deeper walkthrough of the fundamentals, the island building guide covers placement basics that pair well with the layout below.
The Compact Core: Zone-by-Zone Layout Plan
Think of your island as three concentric zones. The inner core holds your highest-output income buildings and the Doomsday Device path. The mid ring holds secondary production and upgrade stations. The outer ring is defense-only territory. Building in this order prevents the classic mistake of filling the center with cheap structures you later have to demolish.
| Zone | What Goes Here | Why It Belongs Here |
|---|---|---|
| Inner core | Top income buildings, main upgrade hub | Shortest collection routes, highest value protected first |
| Mid ring | Secondary production, support structures | Easy access without crowding the core |
| Outer ring | Anti-air, shields, missile sites | Absorbs raids away from income |
| Buffer corridor | Empty walkway | Keeps navigation open after expansion |
The table above is the backbone of the World of Nukes best layout. Notice that defense never touches the core — it sits on the edge where incoming attacks land first. This mirrors how the game's own progression works: the official Roblox page lists anti-air and shields as mid-to-late unlocks, so the outer ring stays empty early and fills in as you progress.
Spacing Rules That Prevent Rebuilds
Updates occasionally change building sizes, and community videos show players rebuilding layouts after patches adjust footprints. To future-proof your island, leave one tile of slack between every major structure. That small gap costs almost nothing early and saves you from a full teardown later. It also keeps your collection path clear when you add new buildings.
Upgrade Routing: How to Grow Your Island Without Stalling
Knowing where to build is only half the battle — the order you upgrade matters just as much. The efficient approach is to push your highest-income building first every time, then reinvest the returns into the next tier. Spreading upgrades evenly feels safe but slows your growth curve, because you never hit the income spike that unlocks the next building tier.
Here is a simple upgrade priority you can follow, and the logic behind each step is worth internalizing so you can adapt it when your island layout shifts. The core principle is income compounding: every dollar sunk into your top earner returns faster than the same dollar spent on defense or land, because income scales your entire future budget rather than just protecting what you already have. In practice, this means if your first income building generates 50 coins per cycle and the next tier costs 500, maxing the current earner first gets you there in roughly ten cycles — whereas splitting that 500 across a defense turret and a land plot leaves you stuck below the unlock threshold and stalls your world of nukes tycoon progression entirely.
-
Max the current top earner before touching anything else.
-
Unlock the next income building as soon as the cost is reachable.
-
Add one defense structure each time you cross a new milestone.
-
Expand land only when the core is genuinely full.
This routing pairs naturally with a solid build order plan, which explains how to sequence placements so you never waste a slot. The key insight is that land expansion and building unlocks compete for the same currency, and prioritizing income first almost always pays off faster than buying extra space you cannot fill yet.
| Milestone | Priority Action | Skip For Now |
|---|---|---|
| Early camp | Max first income building | Defense, land expansion |
| First missile unlocked | Add missile site on outer ring | Decorative structures |
| Shields available | Ring the core with shields | Extra land |
| Doomsday Device path | Consolidate income in core | Scattered production |
Unlocking Buildings Faster: What Actually Moves the Needle
The question of how to unlock buildings in World of Nukes comes down to one thing: sustained income. Every unlock is gated behind a currency threshold, so the fastest route is always the one that maximizes income per minute. That means collecting on cooldown, keeping routes short, and never letting a high-value building sit idle while you wander the island.
A few habits separate fast-growing islands from stalled ones: the top performers treat their World of Nukes best layout as a production line, chaining high-value buildings along one tight loop so each collection pass hits every generator before its cooldown expires. They also prioritize the biggest currency threshold first — saving toward the next unlock tier rather than sinking cash into low-yield upgrades — and they re-check building footprints after each update, since a single size change can break a previously efficient path and quietly bleed income per minute.
-
Collect in a loop, not randomly — walk the same path every time so nothing is missed.
-
Upgrade during downtime, not while income is ticking, so you never interrupt a collection cycle.
-
Bank for the next unlock instead of buying small upgrades that delay the big one.
-
Watch for size changes after updates and adjust spacing before it becomes a problem.
According to community reports, players who keep their production clustered unlock new tiers noticeably faster than those who spread out, simply because the collection loop is shorter. That is the practical payoff of the World of Nukes best layout — it is not about looking tidy, it is about shaving seconds off every single collection.
The Right Moment to Buy New Land
Expansion is tempting but often premature. Only buy new land when your core and mid ring are genuinely full, because every expansion dollar spent early is a dollar not spent on income. Once your core is maxed and defense is in place, expansion becomes the natural next step — and at that point your income is high enough to fill new space quickly.
Defense Placement Without Sacrificing Income Space
Defense is where compact layouts earn their keep. Because you reserved the outer ring from day one, anti-air and shields slot in without displacing a single income building. The mistake to avoid is placing defense in the center "for protection" — raids hit the edges first, so central defense wastes prime production space and rarely intercepts anything.
| Defense Type | Placement | Timing |
|---|---|---|
| Anti-air | Outer ring, facing open approach | When air raids begin |
| Shields | Ring around core, overlapping | As soon as unlocked |
| Missile sites | Outer ring corners | After first missile unlock |
| Doomsday Device | Inner core, protected | Late game |
The base defense guide digs into which defenses counter which threats, but the layout takeaway is simple: keep the outer ring clear so defense has somewhere to go. A compact core plus an empty perimeter is the most flexible configuration you can build, because it adapts to whatever the next unlock demands.
Fixing Layout Mistakes Before They Cost You
Even experienced tycoon players fall into a few traps. The most common is filling the center with cheap buildings early, then facing a painful demolition when the Doomsday Device path needs that space. The fix is to plan the core for high-value structures from the start, even if it sits half-empty for the first few minutes.
Beyond that first trap, the recurring layout mistakes in World of Nukes all trace back to the same root cause: building reactively instead of planning the island as a grid. Players who skip a dedicated buffer corridor often find that after their first expansion, the island becomes unnavigable — units can't reach the Doomsday Device and raid defense stalls. Scattering defensive towers randomly creates coverage gaps that let raids slip through, while spreading upgrades evenly across every building keeps income flat and delays the tier unlocks that gate your best structures. Ignoring footprint changes from updates is the costliest of all, since a single resize can force a full rebuild of your carefully tuned core.
-
No buffer corridor — the island becomes unnavigable after expansion.
-
Defense scattered randomly — coverage gaps let raids through.
-
Even upgrade spreading — income never spikes enough to unlock tiers quickly.
-
Ignoring footprint changes — updates force a full rebuild.
Each of these is fixable with the zone plan above. The through-line is intentionality: every placement should serve either income or defense, never neither. Players who treat the island as a puzzle to optimize rather than a canvas to decorate consistently outgrow those who don't.
Putting the Layout Together: A Practical Build Sequence
Here is how the whole plan comes together in practice. Start by placing your first income building at the center and maxing it. As new income tiers unlock, place them adjacent in a tight block. When anti-air becomes available, drop it on the outer ring facing the open water approach. Shields go in a ring around the core once unlocked, overlapping slightly for full coverage. Missile sites fill the outer corners, and the Doomsday Device takes the protected center once you reach the late game.
This sequence keeps your island productive at every stage while never boxing you in. The base layout breakdown explains how the same zones scale from a tiny camp all the way to a superpower, which is useful once your island starts getting large. The compact approach scales cleanly because the core stays dense and the perimeter stays free — you simply add more rings as land expands.
Use this sequence as your build checklist and run it in order rather than improvising: max the central income building first, then add each newly unlocked income tier directly adjacent so the core stays one tight, buff-sharing block. Anti-air goes on the outer ring facing the open water approach, shields form a slightly overlapping ring around the core, and missile sites claim the outer corners before the Doomsday Device moves into the protected center. Following the order matters because defense placed before income stalls your early economy, while income placed before anti-air leaves the water approach exposed.
| Stage | Core | Mid Ring | Outer Ring |
|---|---|---|---|
| Camp | First income building | Empty | Empty |
| Growing | Maxed income block | Secondary production | First anti-air |
| Established | Doomsday path | Support structures | Shields and missiles |
| Superpower | Fully maxed core | Overflow production | Layered defense |
The World of Nukes best layout is ultimately a discipline: protect the center, cluster the income, and keep the edges free for defense. Treat the sequence as a repeatable loop rather than a one-time build — every time you unlock a new income tier, spend the first few minutes maxing it and slotting it into the adjacent core block before touching defense, because buff-sharing only pays off when buildings sit side by side. A single misplaced building on the outer ring can block the overlapping shield coverage the mid-game depends on, forcing a costly rebuild just as the Doomsday Device path opens. Do that, and your island tycoon grows faster with fewer rebuilds than almost any other configuration.
Frequently Asked Questions
What is the best layout for World of Nukes?
The strongest layout uses three zones: a dense inner core for high-income buildings, a mid ring for secondary production, and an outer ring reserved for anti-air, shields, and missile sites. Keeping income clustered shortens collection routes, while the empty perimeter gives defense room to grow without displacing production.
How do I grow my island faster in World of Nukes?
Prioritize income above everything else. Max your top-earning building first, collect on a consistent loop, and bank currency for the next unlock instead of buying small upgrades. Only expand land once your core and mid ring are genuinely full, since early expansion competes directly with income spending.
How do I unlock new buildings in World of Nukes?
Every unlock is gated behind a currency threshold, so sustained income is the only real requirement. Keep production clustered, collect on cooldown, and avoid interrupting collection cycles with upgrades. Players who keep routes short typically unlock new tiers faster than those who spread buildings across the island.
Where should I place defense on my island?
Defense belongs on the outer ring, never the center. Raids hit the edges first, so anti-air and shields on the perimeter intercept threats before they reach income buildings. Reserve that outer ring from your very first placement so defense slots in later without forcing a rebuild.
Should I rebuild my layout after updates?
Only if a patch changes building footprints enough to break your spacing. Leaving one tile of slack between major structures prevents most forced rebuilds, since small size adjustments fit into the gap. Check your layout after major updates and adjust spacing before it becomes a problem.