
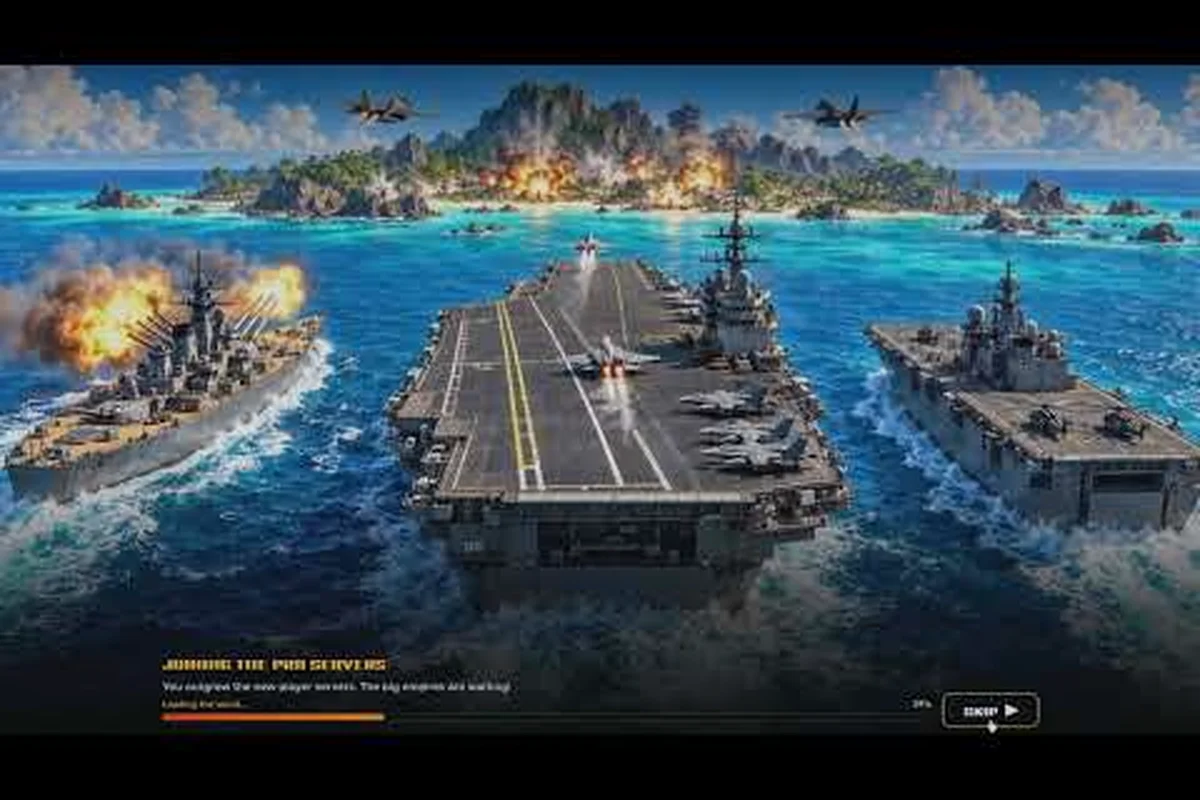
The World of Nukes best attack strategy starts long before you press launch: it starts with target selection. Most raids fail because players fire expensive ordnance at low-value ground, so ranking targets first and then matching missiles, jets, or warships to each fight is what separates a clean strike package from a wasted salvo.
That single habit — decide what dies before you decide what fires — is the difference between a raid that breaks an enemy's war effort and one that burns your stockpile for nothing. The rest of this guide breaks that process into repeatable steps you can run on every sortie.
Why Target Priority Beats Bigger Warheads
Every attack in World of Nukes costs you something: a missile off the rack, fuel and airframe time on a jet, or a warship parked in a vulnerable firing position. When you spend those resources on the wrong building, you don't just lose the ordnance — you lose the tempo of the whole raid while the enemy rebuilds.
The official Roblox page for World of Nukes confirms the core offensive systems are missiles, jets, and warships, and that coordinating missiles with jets adds real pressure to enemy anti-air. That line is the whole thesis of this strategy: layered attacks beat single-system spam because each layer covers the weakness of the last.
Priority is not about the biggest explosion. It's about what the enemy needs to keep fighting. A radar dish that spots your jets is worth more to destroy than a warehouse of finished goods, because the radar enables every future defense.
| Target Type | Threat Value | Best Opener | Why It Ranks Here |
|---|---|---|---|
| Radar / detection | Critical | Missiles | Blinds anti-air before jets arrive |
| Air defense sites | Critical | Missiles | Opens the sky for strike aircraft |
| Command buildings | High | Jets | Cuts coordination and response speed |
| Naval yards | High | Warships | Removes enemy sea strike options |
| Production / factories | Medium | Jets | Slows rebuilds over time |
| Storage / depots | Low | Any spare ordnance | Cleanup only, never a first strike |
Read that table as a checklist, not a ranking to memorize. If the enemy has no navy, naval yards drop off your list entirely and those warships become escort or cleanup tools instead. The same logic trims the opener: when a raid begins with no radar contact, skip the detection strike and send missiles straight at air defense sites so your jets face a thinner anti-air envelope. Re-scan the table before every launch — a target that was Critical last raid may already be rubble, and spending a missile on an empty depot wastes the tempo you just bought.
Community footage of priority-target runs, such as the Zainrail weapons breakdown, shows the same pattern players describe in raids: the players who win open on detection and defense, not on the shiny buildings.
Ranking Targets Before You Launch Anything
The ranking step is where most World of Nukes attack tips earn or lose their value. You want a short, ordered list of three to five targets per raid — long enough to matter, short enough that you can actually execute it under pressure.
The Three-Question Filter
Run every candidate target through three quick questions before it earns a slot on your list, and score each answer honestly rather than by gut feel. The filter exists because your strike package is finite: every missile, jet sortie, and warship salvo you spend on a low-value building is one you can't spend on a radar or SAM site that would otherwise shred your inbound aircraft. A useful habit is to rank each candidate 1–3 on detection value, retaliation threat, and rebuild speed, then sort by the sum — targets that score high on all three (an early-warning radar feeding a coastal battery, for example) jump to the top of the queue, while single-axis targets sink toward cleanup duty.
-
Does it see me? Detection and radar targets go first because they enable every other defense.
-
Does it shoot back? Air defense and coastal batteries come next, since they punish the aircraft and ships you're about to commit.
-
Does it rebuild fast? Production and factories rank below defenses because a rebuilt factory still can't fight if its radar is gone.
If a target fails all three questions, it's cleanup — and cleanup has its own order. Save these leftovers for spare ordnance at the end of the raid, once your expensive systems are already spent and your strike package is running on fumes. A zero-score building (an empty barracks, a lone unupgraded factory) still costs a missile slot that a second-wave SAM battery could have occupied, so never let it jump the queue just because it's nearby. In practice, hold your jets and warships back for the detection and retaliation targets, then mop up the survivors with whatever missiles remain — that way a wasted salvo on a rebuild-fast factory never comes at the expense of the radar that would have exposed your inbound aircraft.
Building a Raid Sheet
Write your target order down before the first launch — not after the first missile lands, when the radar is already burning and you're tempted to free-fire at whatever's left standing. A simple raid sheet looks like this, and the key discipline is assigning a specific system to each slot rather than a vague "hit it with everything":
| Slot | Target | Assigned System | Fallback |
|---|---|---|---|
| 1 | Enemy radar array | Missiles | Second missile volley |
| 2 | Anti-air battery | Missiles | Jet standoff strike |
| 3 | Command post | Jets | Warship bombardment |
| 4 | Naval yard | Warships | Jets with anti-ship loadout |
| 5 | Factory cluster | Any remaining | Cleanup pass |
The fallback column matters more than new players expect. If slot one survives the first volley, you don't improvise — you follow the sheet and hit it again with the backup system. Improvising mid-raid is how players end up firing warship guns at a target a single missile would have finished.
Matching Missiles, Jets, and Warships to Each Fight
Once targets are ranked, the question flips: which system is actually correct for this target? Each of the three offensive families in World of Nukes has a job it does better than the others, and using them outside that job is the second most common way raids bleed resources.
Missiles: The Opener
Missiles are your first-strike tool. They arrive fast, they don't risk a pilot or a hull, and they're ideal against fixed targets that need to stop existing immediately — radar, air defense, and command nodes. A World of Nukes missiles opening volley that clears detection is worth more than ten missiles spent on depots.
The tradeoff is that missiles are finite. Every launch is a resource you can't get back mid-raid, so the discipline is simple: missiles only fire at targets that enable the enemy's defense. If you want the deeper breakdown of launch mechanics and loadout choices, the missile and weapons guide covers the specifics.
Jets: The Flexible Middle
Jets are the system that adapts. They can strike command buildings, hunt production, or swing to a naval target when the sea fight goes sideways. The cost is exposure: a jet over defended airspace is a jet that can be lost, which is exactly why the missile opener exists.
Use World of Nukes jets after the sky is softened, not before. A jet strike on slot three or four of your raid sheet, once anti-air is down, converts airframes into damage instead of losses. Flying jets into an intact defense network is the single fastest way to watch a raid collapse.
Warships: The Sea Flank
Warships bring sustained fire and a second angle of attack. They're strongest against naval yards and coastal targets, and they're a credible fallback for land targets when your missiles are dry. World of Nukes warships also force the enemy to split attention between sea and air, which is pressure in itself.
The catch is positioning. A warship that sits still in range of coastal defenses is a free kill, so naval strikes should be timed with your air push rather than run as a separate, lonely operation. The warship command guide walks through positioning and command flow in more detail.
| System | Best Targets | Strength | Main Risk |
|---|---|---|---|
| Missiles | Radar, air defense, command | Fast, no crew at risk | Limited stock |
| Jets | Command, production, fallback naval | Flexible, high damage | Losses over defended air |
| Warships | Naval yards, coastal, land fallback | Sustained fire, second angle | Vulnerable when stationary |
Layering Your Attack So Nothing Is Wasted
Layering means each system sets up the next, and the sequencing matters more than raw power. Open with missiles to strip air defense and clear the sky — a first-strike salvo that soaks interception and opens a corridor. Then commit jets through that gap to hit command nodes and radar before defenders reacquire, exploiting the window missiles created. Finally, warships add a naval flank the enemy can't ignore, forcing them to split attention and thin their response. Done in that order, every warhead lands on something that mattered instead of being wasted on a defended target.
The Standard Three-Phase Raid
This three-phase sequence — blind, break, take — is the backbone of the world of nukes best attack strategy because it exploits a hard mechanic: anti-air and radar share the same rebuild timer, so a radar hit bought with your opening missile volley keeps enemy SAM coverage suppressed for the entire window your jets need to close in. Run the phases out of order and you pay for it; strike the naval yards first while radar is still up and your jets eat interceptor fire before they ever reach the target sheet's priority rows. Treat the order as the strategy and the timers as tuning.
-
Phase one — blind them. Missiles hit radar and detection so the enemy's air defense fights without eyes.
-
Phase two — break the teeth. A second missile volley or a jet strike removes anti-air batteries and coastal guns.
-
Phase three — take the value. Jets and warships hit command, production, and naval yards while defenses are down.
The phases are not rigid timers. If phase one lands cleanly and the enemy's air defense is already offline, you can compress phases two and three into a single push — send your jet strike at the anti-air batteries and queue the warship barrage on the naval yards in the same window, since a dead radar means neither package draws interceptor fire. The compression only works one direction, though: if the opening missile volley misses the radar node or eats a SAM intercept, phase two must still strip anti-air before any jet crosses the coastline, or you lose airframes to guns that never went dark. Read the rebuild timer, not the clock — the rule is order, not schedule.
Timing the Naval Flank
Warships should enter the fight during phase three, not phase one. A naval bombardment that starts while enemy coastal guns are still alive just donates a hull to the defense. Once the coastal battery is on your target sheet and destroyed, the sea flank becomes nearly free damage.
Players who run the sea fight as its own separate raid often report the same outcome: the warship arrives, gets tagged by coastal fire, and the raid loses its second angle before the air push even starts. Timing fixes that.
Common Attack Mistakes and How to Fix Them
Most failed raids trace back to four habits, and each one has a direct fix you can apply on the next sortie. The pattern is consistent: players spend their opening missile volley on depots instead of the anti-air batteries that would shoot down their jets, then send airframes into intact SAM coverage and lose them for nothing. The table below pairs each habit with its cost and the corrective action, so you can audit your last raid sheet line by line before queuing the next one.
| Mistake | What It Costs | Fix |
|---|---|---|
| Firing at depots first | Wasted ordnance, enemy still sees you | Rank detection targets above storage |
| Jets before missiles | Airframe losses to intact anti-air | Always open with the missile volley |
| Warships alone and early | Hull lost to coastal guns | Time the naval flank with phase three |
| Improvising mid-raid | Split fire, nothing finishes | Follow the raid sheet and fallback column |
The improvising problem deserves extra attention because it feels productive. When a target survives, the instinct is to throw whatever is loaded at it. That instinct is wrong: your fallback column already assigned the correct system, and following it keeps your ordnance matched to the target instead of scattered across the map.
A second quiet mistake is over-committing to one system. A player who only builds missiles runs dry by phase two and then watches the enemy rebuild. A player who only flies jets loses airframes to defenses they never suppressed. The World of Nukes weapons guide 2026 approach is balance across all three families, because each one covers the others' weakness.
If you're still learning the basics of the three systems and how they're unlocked, the beginner walkthrough covers the fundamentals before you attempt a layered raid. That primer is worth finishing precisely because the fixes above assume you already know your missile, jet, and warship unlock order — a player who skips it tends to misread the fallback column and re-commits the depot-first blunder with a different system. Treat it as the prerequisite for the balance principle below, then return to this section with your raid sheet in hand.
Adapting the Strategy to Different Enemy Setups
No single raid sheet survives every enemy. The ranking logic stays the same, but the slots change based on what the enemy actually fields. Against a missile-heavy defense grid, for example, swap your slow heavy bombers for faster jets that can close distance before SAM batteries lock on, and keep a warship escort in reserve to soak retaliation; versus a jet-swarm opponent, flip the priority toward anti-air missiles and layered interception. Treat the tier list as a template, not a fixed loadout—re-sort your top three weapons by the threat you actually scan, then commit.
Against a Defense-Heavy Enemy
When the enemy leans on radar and anti-air, your missile stock is the raid. Spend the first two volleys on detection and defense, accept that your jets stay grounded longer, and finish with a small jet strike on command. Patience here beats speed — a defense-heavy enemy that loses its radar is suddenly soft.
Against a Naval Enemy
If the enemy runs warships and coastal guns, flip the emphasis. Missiles open on coastal batteries, your own warships take the naval yard, and jets handle command as the fallback. The sea fight becomes the main effort rather than the flank, and your air power covers it instead of leading it.
Against a Production-Heavy Enemy
Production-heavy enemies rebuild fast, so the raid has to hit command and factories in the same push. Missiles clear the sky, jets hit command and production back to back, and warships add pressure on any coastal factory. The goal is to remove both the ability to coordinate and the ability to replace losses.
The air strikes breakdown is useful here because it shows how missiles and jets combine when two systems must hit in quick succession. In practice, launch cruise missiles first to strip enemy SAM coverage and interceptors, then send jets in the same window so they reach command centers and factories before defenses respawn. Staggering strikes this way keeps the production-heavy enemy from rebuilding between waves, and pairing the raid with warship bombardment on coastal factories closes the last rebuild path.
Frequently Asked Questions
What is the best first target in World of Nukes?
Enemy radar and detection rank first because they enable every other defense. Destroying them blinds anti-air and lets your jets operate without immediate losses. Only after detection is down should you spend ordnance on command buildings, production, or storage, which is the core of the World of Nukes best attack strategy.
Should I use missiles or jets first?
Missiles go first. They arrive without risking a pilot and are ideal against fixed defenses like radar and anti-air batteries. Jets follow once the sky is softened, where their flexibility and damage output convert into real gains instead of airframe losses over intact defenses.
How many targets should one raid plan include?
Aim for three to five ranked targets per raid. That's enough to break the enemy's war effort but short enough to execute under pressure. Assign a fallback system to each slot so a surviving target gets hit by the correct backup rather than whatever happens to be loaded.
Are warships worth using in every raid?
No. Warships shine against naval yards and coastal targets, and they work as a land fallback when missiles run dry. If the enemy has no navy or coastal guns, warships become escort and cleanup tools rather than a main effort, so don't force them into every raid plan.
How do I stop wasting ordnance on empty ground?
Write a raid sheet before launching and rank targets by threat, not by size. Detection and defense always outrank storage. Follow your fallback column when a target survives, and never improvise mid-raid, since split fire is what leaves raids unfinished and stockpiles empty.