
Knowing how to use nukes in World of Nukes is the difference between a warhead that fizzles on the shoreline and one that erases an enemy island outright. This guide breaks down the impact behavior of each warhead, the community-reported unlock order, and the wonder requirements that gate your Doomsday Device.
Nukes are the last tier of the arsenal for a reason: you launch them from your own island at distant targets, so range, timing, and payload choice all matter. Get the mechanics wrong and you waste a launch window; get them right and one strike reshapes the map. The sections below cover what actually happens on impact, which warheads are worth rushing, and how the wonder chain funnels you toward the endgame.
What the Nuke Mechanics Actually Do on Impact
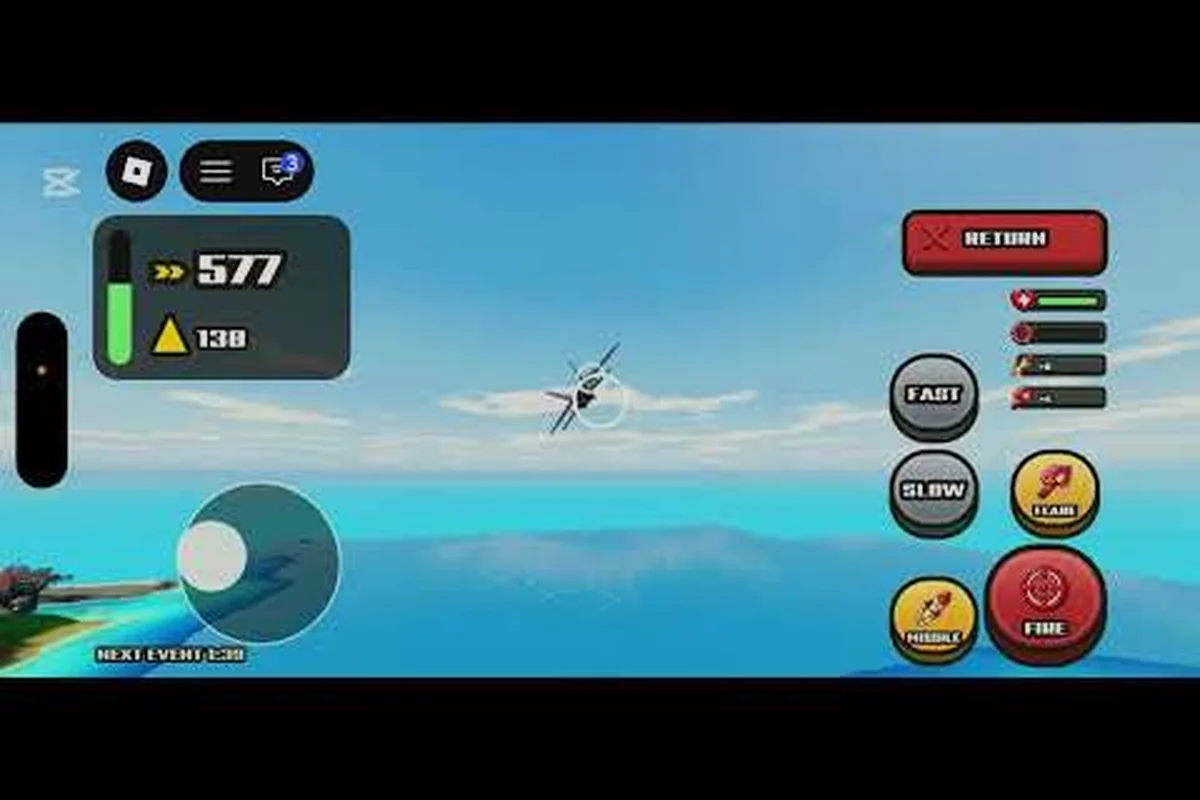
Every warhead in World of Nukes follows the same launch pipeline — build, fuel, arm, fire — but the impact behavior differs sharply between tiers. According to the official World of Nukes page on Roblox, nukes sit at the far end of the arsenal and are fired from your island at distant enemies, which means the mechanic is fundamentally about standoff damage rather than close-quarters combat.
The core loop works like this: each launch resolves as a fixed four-stage sequence, and every stage spends a different resource — cash and materials drain during the build phase, fuel consumption scales with warhead range during the fuel phase, target coordinates lock permanently in the arm phase, and the impact phase applies radial damage with distance-based falloff. Because the arm phase is irreversible, the real skill ceiling sits before launch: scouting enemy island layouts, budgeting fuel so a long-range nuke doesn't stall your fire rate, and pre-aiming ground zero rather than reacting after the missile is airborne.
-
Build phase: you assemble the warhead at your launch facility, consuming cash and materials.
-
Fuel phase: longer-range warheads need more fuel, which slows your fire rate.
-
Arm phase: the warhead locks its target coordinates; you cannot retarget mid-flight.
-
Impact phase: damage applies in a radius, with falloff based on distance from ground zero.
The single most misunderstood part of the nuke mechanics is falloff. A warhead that looks enormous on paper can underperform if the target sits at the edge of the blast radius. Players consistently report that centering the impact on the enemy's production buildings does more long-term damage than hitting the spawn point, because rebuilding infrastructure takes far longer than respawning.
Blast Radius Versus Raw Damage
Raw damage numbers are tempting to chase, but blast radius usually wins in practice. A wide-radius warhead that clips four buildings beats a narrow high-damage warhead that deletes one. The table below summarizes how the two stats trade off across the general warhead classes.
| Warhead Class | Blast Radius | Raw Damage | Best Use Case |
|---|---|---|---|
| Light tactical | Small | Low | Finishing wounded targets, harassment |
| Standard ballistic | Medium | Medium | General-purpose island strikes |
| Heavy payload | Large | High | Breaking fortified production chains |
| Experimental | Very large | Very high | Endgame map control |
Because exact stat values are not published by the developer, treat these as relative tiers rather than fixed numbers. Community testing consistently places experimental warheads at the top and light tactical warheads at the bottom, with the standard ballistic class as the reliable middle option.
The Community-Reported Nuke Unlock Order
The unlock order is not documented in-game, so this sequence comes from player experience and community reports rather than an official roadmap. That caveat matters: if the developer rebalances progression, the order can shift. Still, the pattern most players describe is a steady climb from cheap tactical weapons toward the wonder-gated endgame.
Here is the unlock order as reported by the community, mapped stage by stage so you can see exactly where each nuke tier sits: Stage 1 is basic launch capability once your starting island infrastructure is running; Stage 2 adds light tactical warheads behind an early cash investment; Stage 3 brings standard ballistic warheads once the launch facility is upgraded; Stage 4 unlocks heavy payload warheads gated by your mid-game economy; Stage 5 opens experimental warheads at late-game economy levels; and Stage 6 is the Doomsday Device, which only appears after the wonder completion chain finishes.
| Stage | What You Unlock | Rough Gate |
|---|---|---|
| 1 | Basic launch capability | Starting island infrastructure |
| 2 | Light tactical warheads | Early cash investment |
| 3 | Standard ballistic warheads | Upgraded launch facility |
| 4 | Heavy payload warheads | Mid-game economy |
| 5 | Experimental warheads | Late-game economy |
| 6 | Doomsday Device | Wonder completion chain |
The key takeaway is that cash gates everything early, while wonders gate everything late. If you feel stuck around stage 4, the bottleneck is almost always income rather than a hidden requirement. The million cash economy breakdown covers the income routes that push you past that wall.
Why the Order Feels Inconsistent
Different players report slightly different unlock timings, and there is a good reason for that. Because the requirements are not published, the community infers them from observation, and small differences in build order produce different perceived gates. If your unlock order looks a step ahead or behind the table above, you are not doing anything wrong — you likely invested in a different facility upgrade first.
Ranking Warheads: A Practical Nuke Tier List
A tier list only helps if it reflects how you actually play, so the ranking below weighs cost efficiency, blast radius, and endgame relevance — the three factors that decide whether a warhead earns its launch slot. Cost efficiency matters because every launch consumes resources you could spend on expansion or research, and a warhead that drains your economy for a marginal strike is a net loss even if it connects. Blast radius determines how many structures or units a single launch cycle can neutralize, which is why the S-tier experimental warhead's oversized radius translates directly into map control in the late game. Endgame relevance filters out warheads that shine early but fall off once fortified islands and hardened targets appear; a cheap light tactical warhead may clear an early skirmish, yet it rarely justifies a launch slot when heavier payloads are available.
| Tier | Warhead | Why It Ranks Here |
|---|---|---|
| S | Experimental | Largest radius and damage; defines late-game strikes |
| A | Heavy payload | Best balance of cost and structural damage |
| B | Standard ballistic | Reliable workhorse for most of the game |
| C | Light tactical | Cheap but rarely worth a launch slot |
The experimental warhead sits in S tier because nothing else matches its radius, and in the endgame, radius equals map control. Heavy payload earns A tier for being the most cost-efficient way to break a fortified island without burning your best ammunition. Standard ballistic is B tier — not flashy, but it is the warhead you will fire most often, and consistency has real value.
Light tactical warheads land in C tier for a simple reason: launch slots are limited, and a cheap warhead that does little damage still consumes a full launch cycle. Unless you are harassing a wounded opponent, the slot is better spent elsewhere. Players who want the full weapon progression picture beyond nukes should look at the missile upgrade path, which covers the conventional arsenal that supports your nuclear strikes.
When to Skip a Tier
Skipping light tactical warheads entirely is a legitimate strategy. If your economy can support jumping from basic launch capability straight into standard ballistic production, you save both cash and launch cycles. The tradeoff is a slower early game, so this only works if you are not under immediate pressure from other islands.
Wonders Unlock Requirements and the Doomsday Device
The wonder chain is the real endgame gate. According to the official game description, the Doomsday Device sits beyond wonders as the final milestone, which means you cannot reach it by grinding cash alone — you have to complete the wonder requirements first.
The wonder unlock requirements, as reported by players, generally involve: sustained resource production thresholds that force you to prove your economy can run unattended rather than relying on a single cash spike, facility upgrades that gate the higher-tier construction options needed to even queue the next wonder, and sequential completion of prior wonders because the chain is strictly progressive — skipping ahead is not possible. Community reports also point to research tree progress as a soft gate, since certain wonder tiers appear to require specific tech nodes before the build option appears at all.
-
Sustained resource production at a level that proves your economy is stable.
-
Facility upgrades that unlock the higher-tier construction options.
-
Completion of prior wonders in sequence, since the chain is progressive.
In practice, this means wonders are a checkpoint system. Each wonder you complete verifies that your island can support the next tier of play, and the Doomsday Device is the final verification. Players who rush cash without building the supporting infrastructure often find themselves stuck at the wonder gate, unable to progress despite a healthy bank balance.
How Wonders Feed Into Nuke Power
Wonders are not just a gate — they also feed back into your nuclear capability. The wonder rewards and Doomsday Device guide details how completed wonders translate into endgame bonuses, and the short version is that wonder completion compounds. Each wonder makes the next one cheaper to reach and makes your existing warheads more effective, which is why the wonder chain and the nuke unlock order are effectively the same progression track viewed from two angles.
If you are still mapping out the wonder sequence itself, the wonder unlock walkthrough covers the launch-side requirements that pair with each wonder milestone. Treat the two guides as a single loop rather than separate checklists: the walkthrough tells you which resource thresholds and build prerequisites each wonder demands, while the rewards guide tells you what that wonder pays back into your arsenal. Because each completed wonder lowers the cost of the next, any stall in the chain is a compounding loss — a wonder you delay by one resource cycle also delays the cheaper follow-up and the warhead buff stacked on top of it. Cross-check your current wonder milestone against the launch requirements before committing resources, so a missing prerequisite never silently freezes the entire nuke unlock order.
Practical Steps for Using Nukes Effectively
Knowing the mechanics is only half the job; execution decides outcomes. A launch that lands on an empty spawn wastes both the warhead and the build time behind it, while the same nuke centered on a production cluster can stall an opponent's entire economy for minutes. The steps below are the sequence experienced players follow when they want a launch to actually matter — from scouting the target layout and matching warhead tier to the job, through wave timing and launch-facility defense, to banking cash so you can capitalize on the damage instead of firing into a vacuum.
-
Scout before you build. Confirm the target's layout so you can center the blast on production rather than spawn.
-
Match the warhead to the job. Use heavy payload for structures, experimental for map control, and save light tactical for cleanup.
-
Fire in waves, not singles. One warhead creates a window; a second warhead inside that window prevents rebuilding.
-
Protect your launch facility. A nuke you cannot fire is worse than no nuke at all.
-
Bank cash between launches. Running your economy dry to fire one warhead leaves you unable to capitalize on the damage.
The wave timing point deserves emphasis. A single strike gives the defender time to rebuild, and rebuilding is fast when the target still has production intact. Two strikes spaced closely together — the second hitting the reconstruction — is far more punishing than two strikes spread across a long interval.
Reading the Impact Feedback
After impact, watch what the target rebuilds first. If they immediately reconstruct production buildings, hit those again. If they rebuild defenses, your next strike should target the defenses directly. This feedback loop is the closest thing World of Nukes has to a damage report, and reading it well is what separates a competent nuclear player from a great one.
Common Mistakes That Waste Your Warhead Stock
Most wasted launches trace back to a handful of repeatable errors. The most common is firing at maximum range with a short-range warhead, which either fails to reach or lands with heavy falloff. Always confirm the warhead's effective range before committing a launch.
The second common mistake is ignoring the launch cooldown. Because arming and fueling take time, a player who fires impulsively ends up with a long dead window during which the opponent counterattacks freely. Pacing your launches so that a warhead is always nearly ready is a genuine skill.
The third mistake is over-investing in one warhead type. A stockpile of experimental warheads looks impressive until you realize you cannot afford to fire them often. A mixed stockpile — heavy payload for routine work, experimental for decisive strikes — keeps you flexible without bankrupting the economy.
Finally, neglecting the wonder chain stalls progression entirely. Cash alone will not unlock the Doomsday Device, and players who discover this late often have to backtrack through wonder requirements they could have completed earlier at a fraction of the cost.
Frequently Asked Questions
How do you use nukes in World of Nukes?
Build the warhead at your launch facility, fuel it for the required range, lock the target coordinates, and fire. Damage applies in a radius with falloff from ground zero, so centering the impact on production buildings delivers more lasting damage than hitting spawn points or empty terrain.
What is the fastest nuke unlock order?
Community reports describe a climb from basic launch capability through light tactical, standard ballistic, heavy payload, and experimental warheads, ending at the Doomsday Device. Cash gates the early stages and wonder completion gates the late ones, so income and wonder progress are the two levers to pull.
Which warhead is best in the nuke tier list?
Experimental warheads rank highest for their blast radius and damage, while heavy payload offers the best cost-to-damage balance for routine strikes. Standard ballistic warheads remain the reliable workhorse, and light tactical warheads are usually only worth a launch slot for finishing wounded targets.
What are the wonder unlock requirements?
Wonders require sustained resource production, facility upgrades, and completion of prior wonders in sequence, based on player reports. Each completed wonder verifies your island can support the next tier, and the Doomsday Device sits beyond the full chain as the final milestone rather than a cash purchase.
Can you unlock the Doomsday Device without wonders?
No. The official game description places the Doomsday Device beyond wonders as the final milestone, so wonder completion is a hard prerequisite. Grinding cash alone will not open it, which is why players who rush income often stall at the wonder gate until they finish the chain.
The through-line across all of it is sequencing: pick warheads that match the job, respect the launch cycle, and treat the wonder chain as the real progression track rather than a side activity. Do that, and the Doomsday Device stops being a distant milestone and becomes the next logical step.